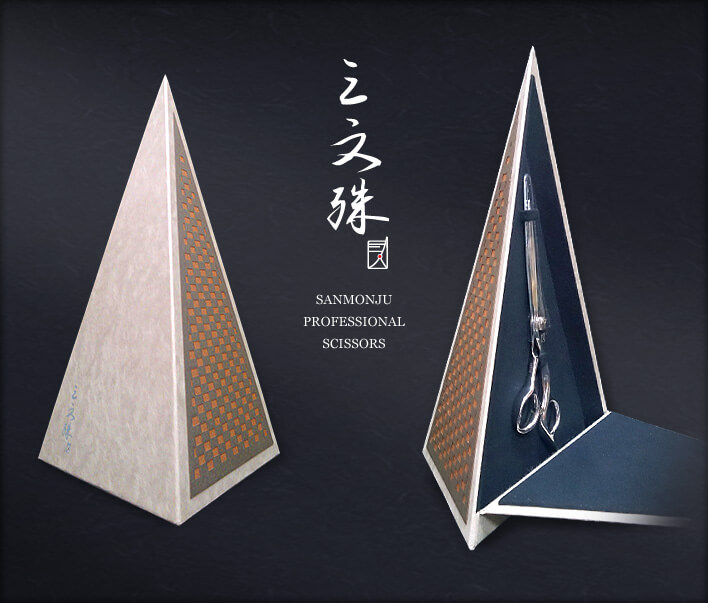
HOME > Manufacturing Process
Manufacturing Process
-
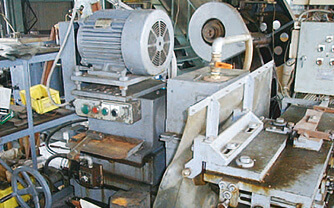
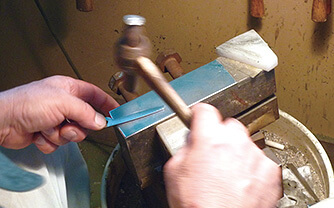
 Blade and EDM
-

1-1
Cut out the blade material by EDM(Electric discharge machining, aka: wire cutting)
CAD designing makes cutting
out into many shapes possible. -
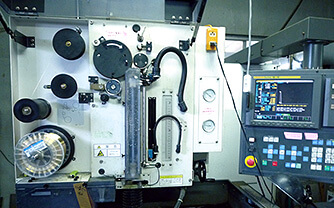
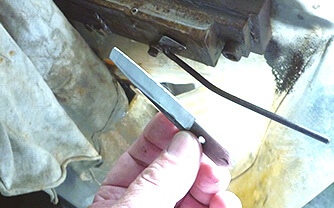
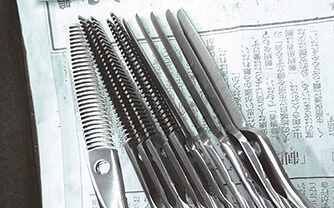
1-2
Shaping the scissors (cutting out in precise)
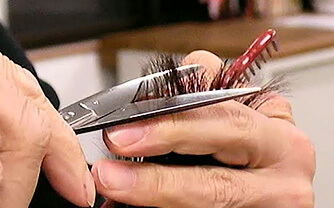
Thinning scissors take about 1.5 hours to shape.
(Ion exchange resin is used for wire cutting.)
Wire cutting makes custom scissors possible.For example- Number of teeth
- Shape of the slit
- Narrow or Wide blades
-
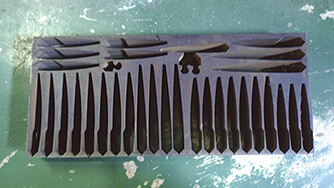
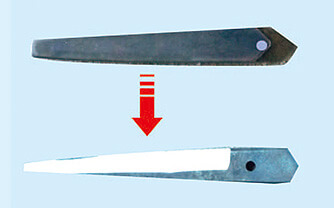
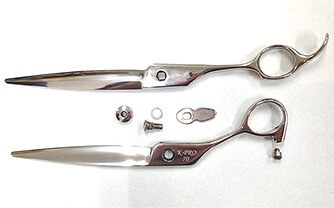
Wire cut parts
Punched out material
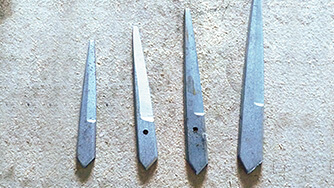
Forged steel
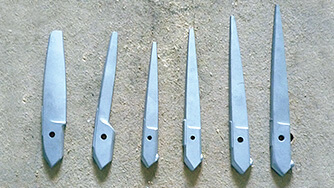
Cobalt material
-
-
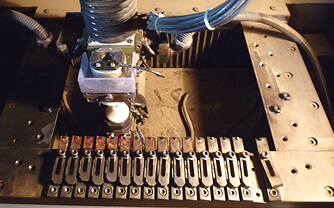
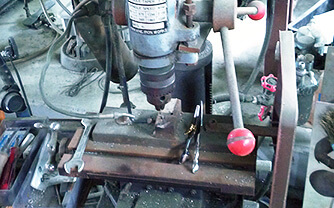
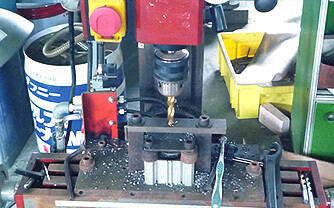
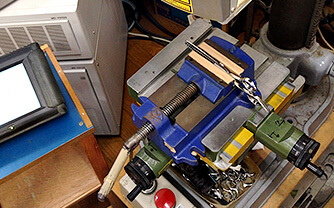
 Punching out screw hole.
-

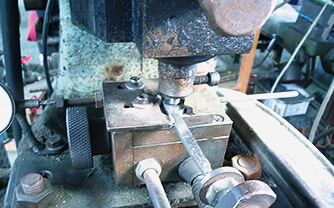
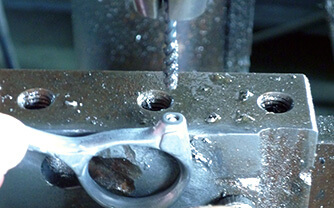
2-1
Punch out a hole in the center of the screw hole. The hole is less than 0.1mm in precise. -
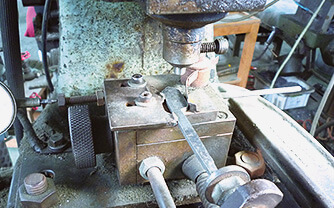
2-2
Screw hole. Carve out screw out in a funnel shape for the inside screw.Stainless steel
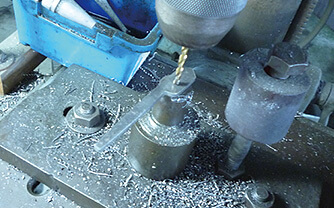
2-3
Finger blade - open slot.2-4
Finger blade - pierce the hole.2-5
Thumb blade open the hole to 4mm.2-6
Thumb blade open the hole to 5mm.2-7
Clean the whole with a reamer. -
Open bumper hole

Piercing
-
-
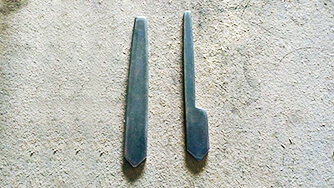
 Welding
-
3-1
Auto polish. Roughly sharpen the blade. -
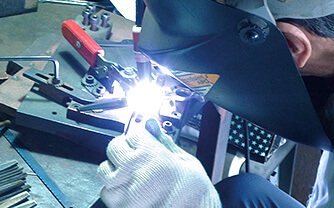
3-2
Welding. Weld the blade and the handle. -
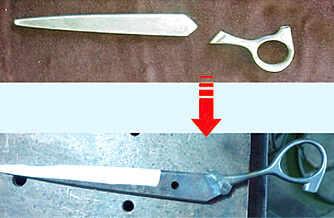
3-3
Temporary welding.
Stainless steels goes to heating process.
-
-
 Polish
-
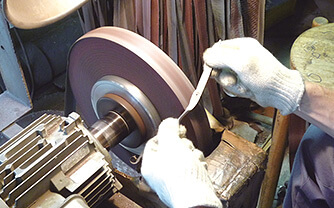
4-1
Temporary polishing. -

4-2
Polishing the blade.4-3
Shaping the back side of the blade.4-4
Polish any damaged part.4-5
Polishing finger hole.4-6
Shaping the blades.
Shape the blade with rough sand papers.4-7
Polishing the front side of the blade.
Polish to mirror finish.
-
-
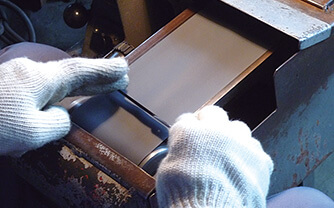
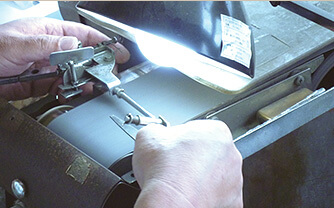
 Buffing and adjustment
-

5-1
Buffing process. -
5-2
Check the curve of the blade. -

5-3
Check the curve with the gauge. -
5-4
Adjustment complete.
-
-
 Finishing and Laser marking
-
6-1
Finishing process.- Bumper installation
- Precondition cutting
- Screw
- Finger ring installation
- Engraving the logo and the serial number
- Cutting test
- Oiling
- Tagging
- In box
-
![]() Please send us questions or your preference.
Please send us questions or your preference.